
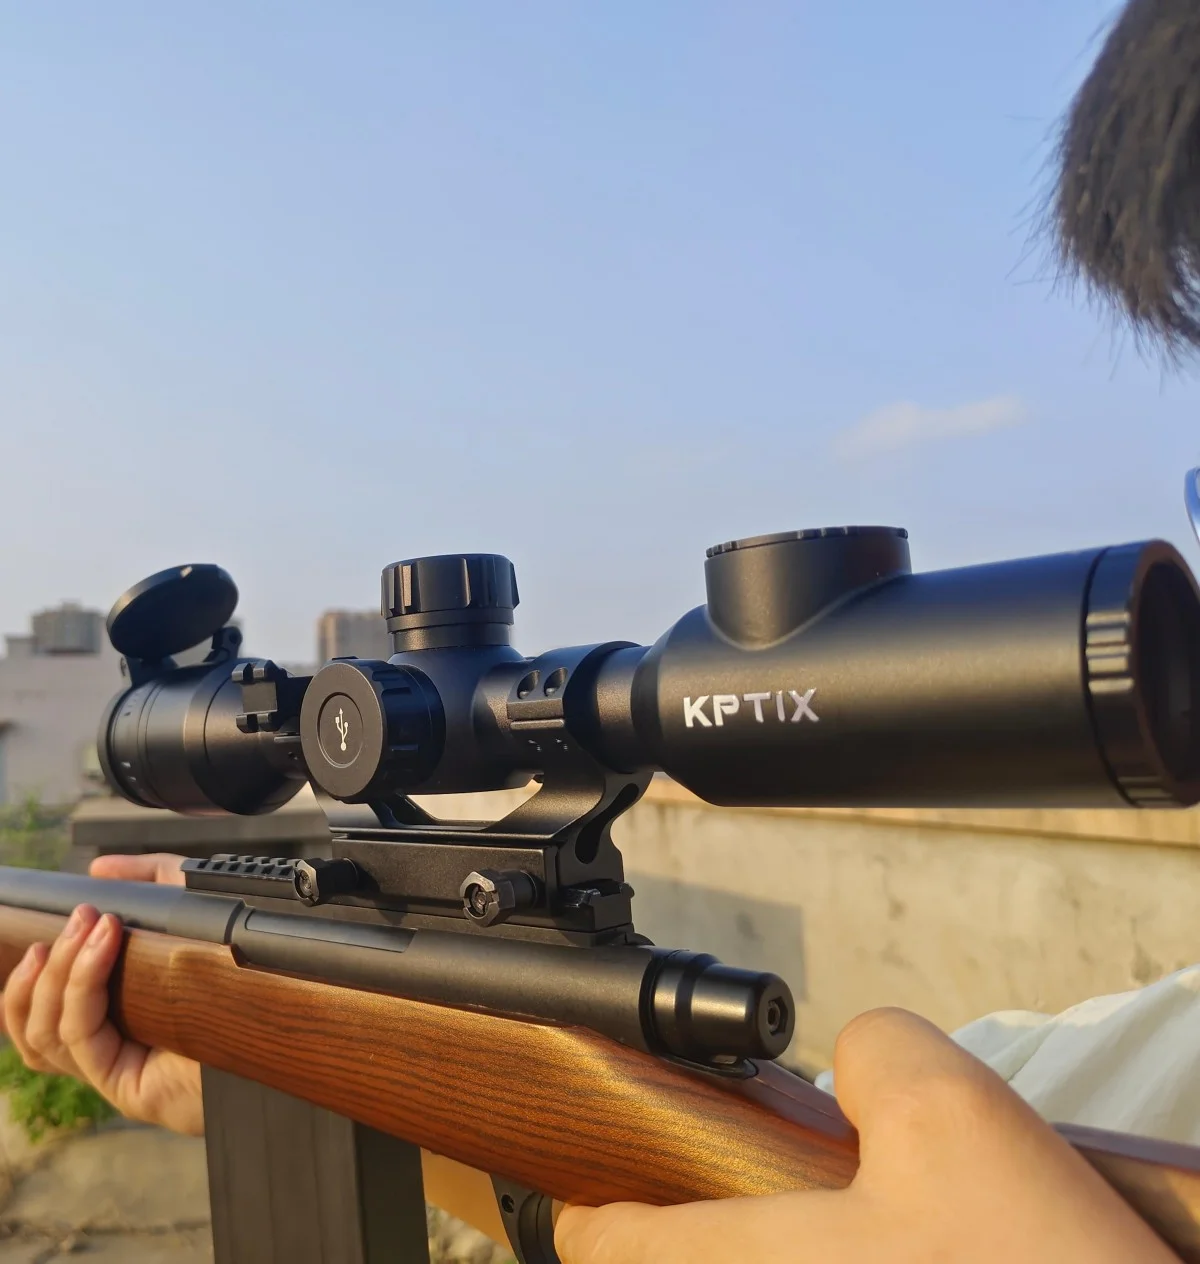
When dusk envelops the forest and traditional optics fail, thermal imaging scopes (TIS) open a new dimension of perception for hunters. They penetrate darkness, mist, and even light foliage, transforming an animal’s heat signature into a clear image. However, mastering this cutting-edge technology requires specific techniques. This article delves deep into practical strategies for effectively using thermal imaging scopes in hunting, significantly boosting your success rate.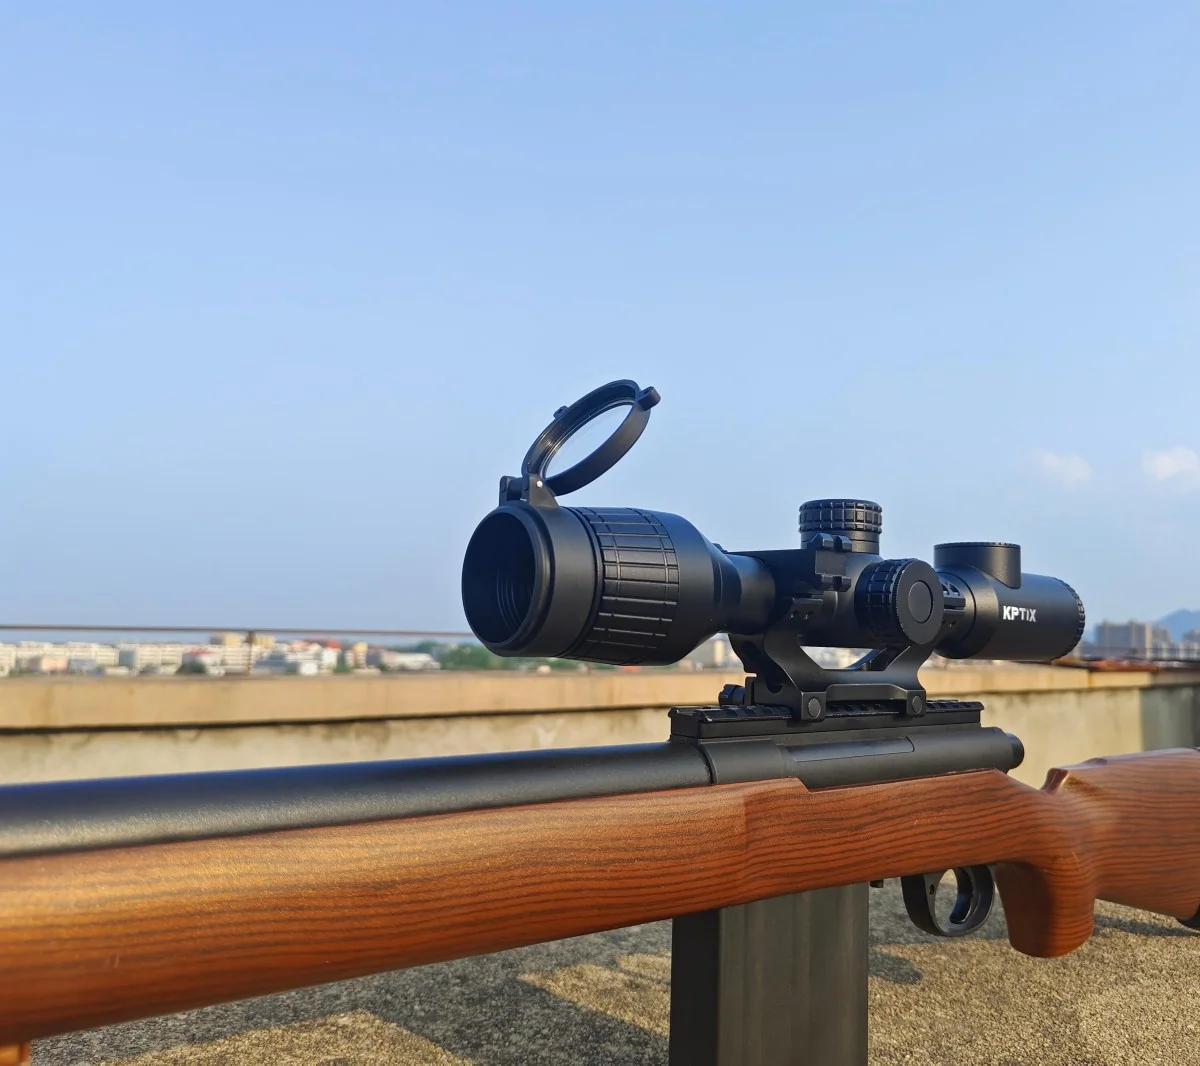
Practical Skills for Core Hunting Scenarios
-
Precise Location & Tracking:
-
Leveraging Environmental Temperature Differences: Thermal signatures are most distinct at dawn/dusk when temperatures change rapidly. Arrive early at observation points to scan during these windows.
-
Scanning Patterns: Use systematic grid scanning (horizontal or vertical line-by-line) to avoid missing targets in corners. Be patient with suspicious heat signatures, observing their shape and movement patterns.
-
Terrain Prediction: Focus scans on high-probability areas: leeward slopes, water sources, trail junctions, forest edges. Pay attention to thermal shadows behind rocks and tree trunks.
-
Blood Tracking: Thermal imaging clearly reveals the heat signature of fresh blood (warmer than surroundings), drastically improving tracking of wounded game in low light or dense cover.
-
-
Critical Target Identification:
-
Shape Recognition: Learn the typical thermal silhouettes of target species (deer, wild boar, etc.) – body size, neck length, ear shape, tail features. Antler warmth is particularly noticeable during rutting season.
-
Behavioral Observation: Combine heat signature with behavior: deer gait and feeding patterns; boar rooting behavior and group movement.
-
Beware Heat Confusion: Watch for non-target heat sources: sun-warmed rocks/logs (cooling reduces difference), small animals (squirrels, rabbits), other hunters, or campfire remnants. Continuous observation of the target’s dynamics is key.
-
Range Estimation: Target size shrinks with distance in thermal view, lacking traditional reticle scales. Estimate using terrain knowledge, known reference objects, experience, or integrated rangefinders when possible.
-
-
Optimizing Device Settings:
-
Palette Selection:
-
White Hot / Black Hot: “White Hot” (hot=white) offers high contrast for quick target acquisition. “Black Hot” (hot=black) may reduce eye strain and excel against certain backgrounds (e.g., snow). Test based on preference and environment.
-
Color Palettes (if available): Palettes like Iron Red or Rainbow can help distinguish subtle temperature differences in complex scenes (e.g., determining animal orientation).
-
-
Gain & Brightness:
-
Gain: Controls sensitivity to thermal signals. High gain boosts weak signals (small temp differences, e.g., hot days) but increases noise. Low gain provides cleaner images with large temp differences (e.g., cold nights). Adjust based on actual delta-T.
-
Brightness: Adjusts overall image intensity. Avoid over-brightness (washing out hot details) or under-brightness (losing cold details). Aim for optimal target-background contrast.
-
-
Image Calibration (NUC): Regularly perform manual Non-Uniformity Correction (usually with lens cap on or pointed at uniform background) to eliminate image artifacts (hot/cold spots, streaks), ensuring uniformity and clarity.
-
Digital Zoom Use: Use digital zoom sparingly; excessive zoom significantly degrades image clarity. Rely primarily on optical magnification for detail.
-
-
Environmental Adaptation Strategies:
-
Handling Inclement Weather:
-
Rain/Fog: Heavy rain significantly attenuates thermal signals, reducing detection range. Light rain/mist has less impact, but expect reduced effective range. Thermal still outperforms visible light in penetration.
-
Extreme Cold: Keep spare batteries warm (e.g., inside jacket) as cold drastically shortens battery life. Allow the device to acclimate to ambient temperature before use to minimize internal lens fogging.
-
-
Vegetation Penetration: Thermal can penetrate light foliage/grass, but not dense canopy or solid obstacles. Look for heat signatures “peeking through” vegetation.
-
Sunlight Impact: Avoid direct sunlight on the lens sensor (can cause damage). Midday sun heating the ground may reduce target-to-ground contrast, affecting detection.
-
-
Safety & Ethical Practices:
-
100% Target Confirmation: Thermal reveals heat sources, but must NEVER replace final target identification. Before pulling the trigger, absolutely confirm the target is legal game and the shot is safe using clear thermal shape recognition, behavioral observation, or supplementary optics (binoculars).
-
Know the Regulations: Strictly adhere to local laws governing thermal/night vision use for hunting (allowed times, species, device types).
-
Device Maintenance: Clean lenses regularly (using specialized wipes/cloth). Store in a dry environment. Use protective cases during transport.

-
Core Hunting Advantages of Thermal Imaging Scopes
-
All-Conditions Capability: Hunt effectively at night, dawn, dusk, and in low visibility, overcoming lighting limitations.
-
Superior Stealth: Passively detects heat radiation; no active light source required, minimizing spooking game.
-
Environmental Penetration: Sees through darkness, smoke, mist, and light vegetation cover.
-
Efficient Search & Tracking: Enables rapid wide-area scanning and effective recovery of wounded animals.


